How I Did All Those Great Illustrations for The New York Post
/By Mark Lerer ’81
Step One: I’d get a copy of the week’s topic for Judy Rosemarin’s column “CAREERSPLUS: Your Guide to Working Smart.” This week, the topic was “A New Resource for Working Women.” Using photos and other reference material, I drew a batch of sketches. This was the best one:

Step Two: I simplify the drawing, because it’s going to be reproduced as “line art.”

Step Three: I used to trace my simplified drawing onto a page of bristol board using a light-box and a speedball B-6 ink pen. Nowadays, I just scan in the drawing and do this as a layer in Photoshop with a Wacom tablet, but’s it’s the essentially the same process. This gives us the “line art.”

Step Four: Now that I’ve got the line art, it’s time to think about the gray tones. I’d put a piece of tracing paper over the line art, and with a light gray and a dark gray marker, sketch in where the half-tones ought to go. I might do a half-dozen or so of these, from which I’d select the best one.

Step Five: Using my marker sketch as a guide, I apply the gray tones, often revising as I go. I used to do this with some wonderfully arcane materials called “Zip-a-Tone,” that I would directly paste onto the line-art drawing (or a copy thereof, so I wouldn't wreck the original). Nowadays, again, all done digitally, but the step-by-step method I worked out for myself is the same, and has proven very useful.
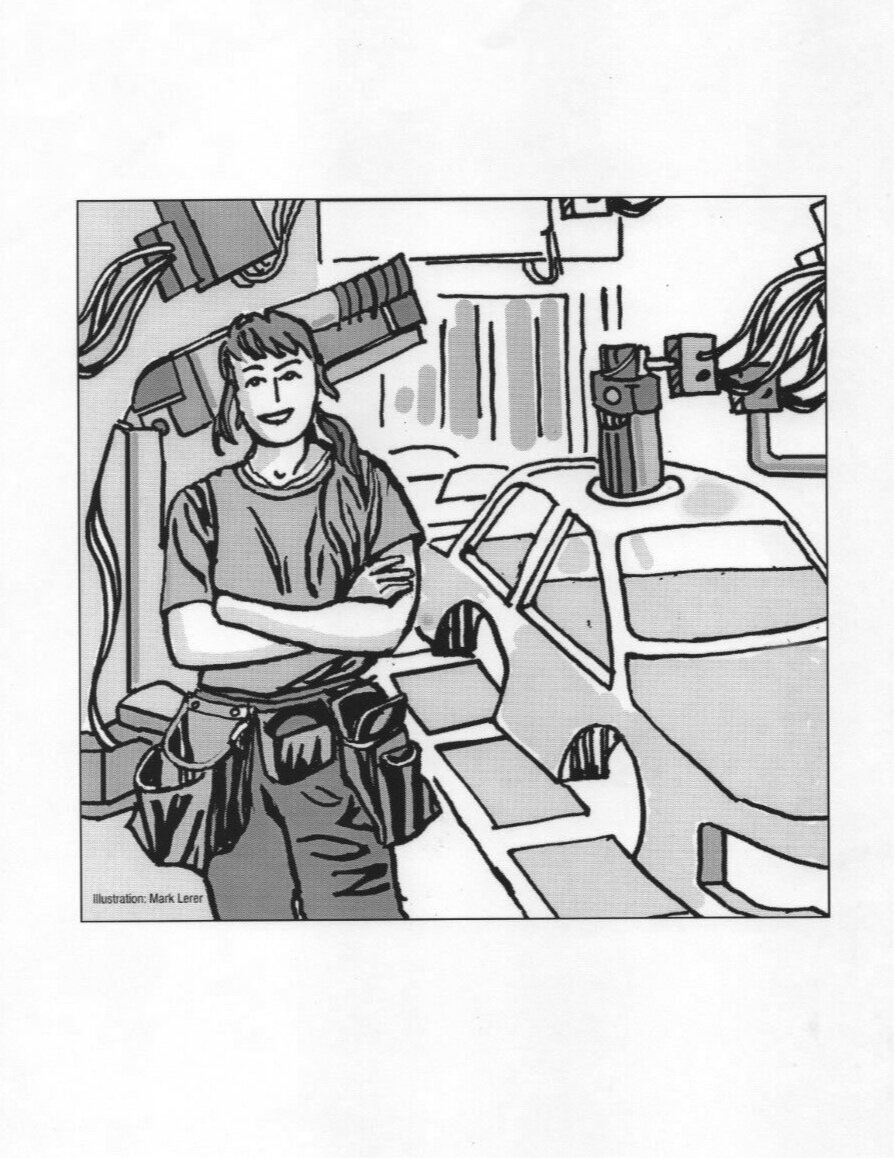
Step Six: Ta-daaah! Having turned in my finished illustration and gotten it approved by the poor soul whose job it was to approve these things, it appears in print! God, what a moment!
